
Low poly Animal Design
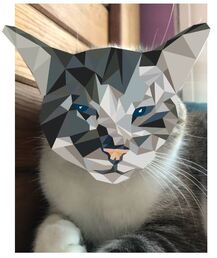
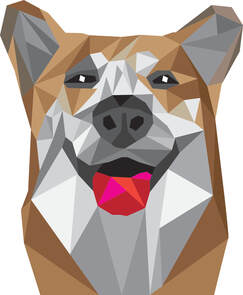
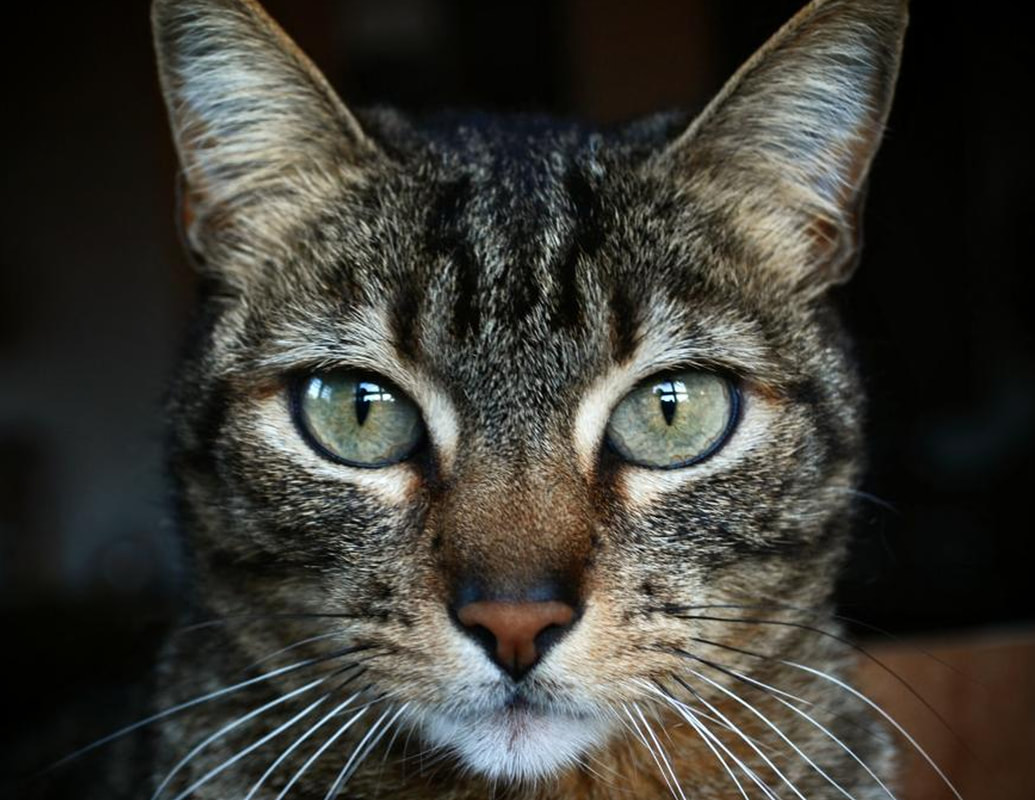
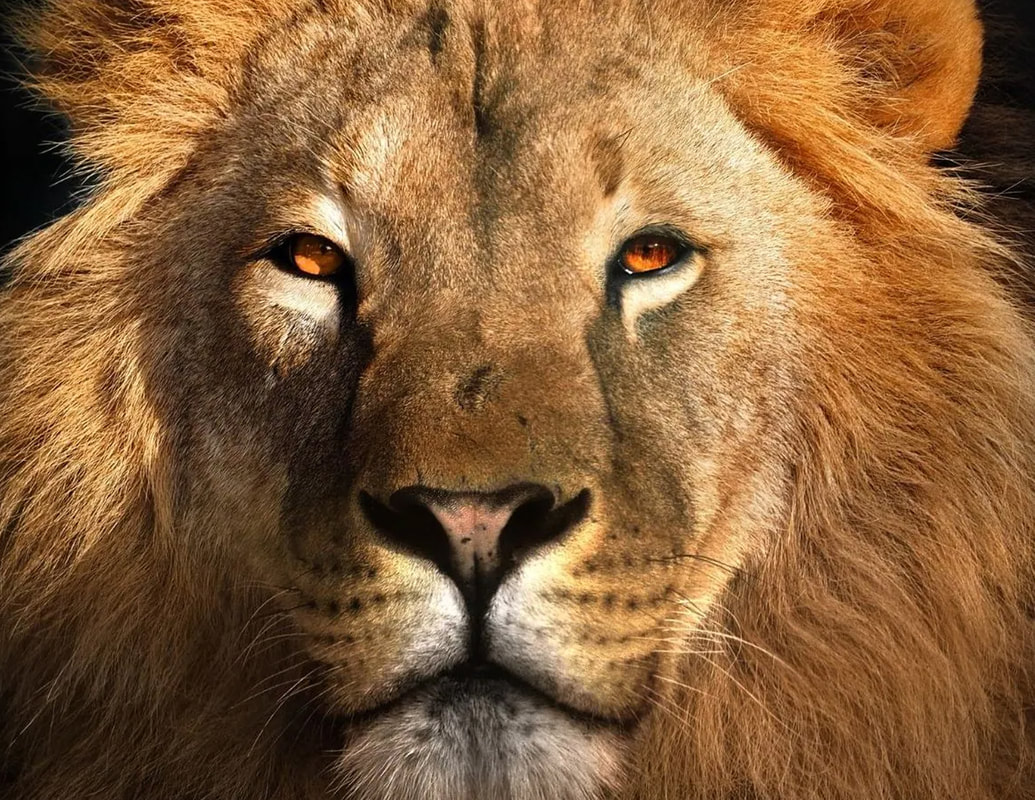
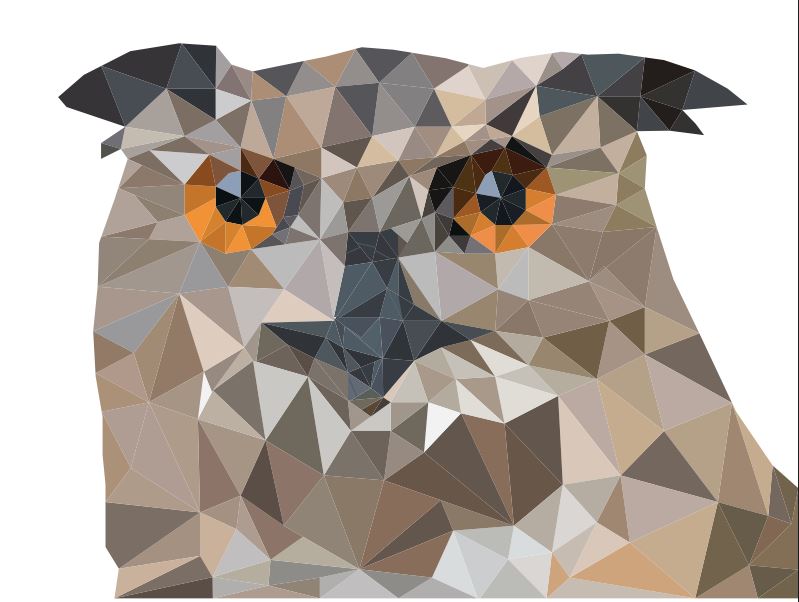
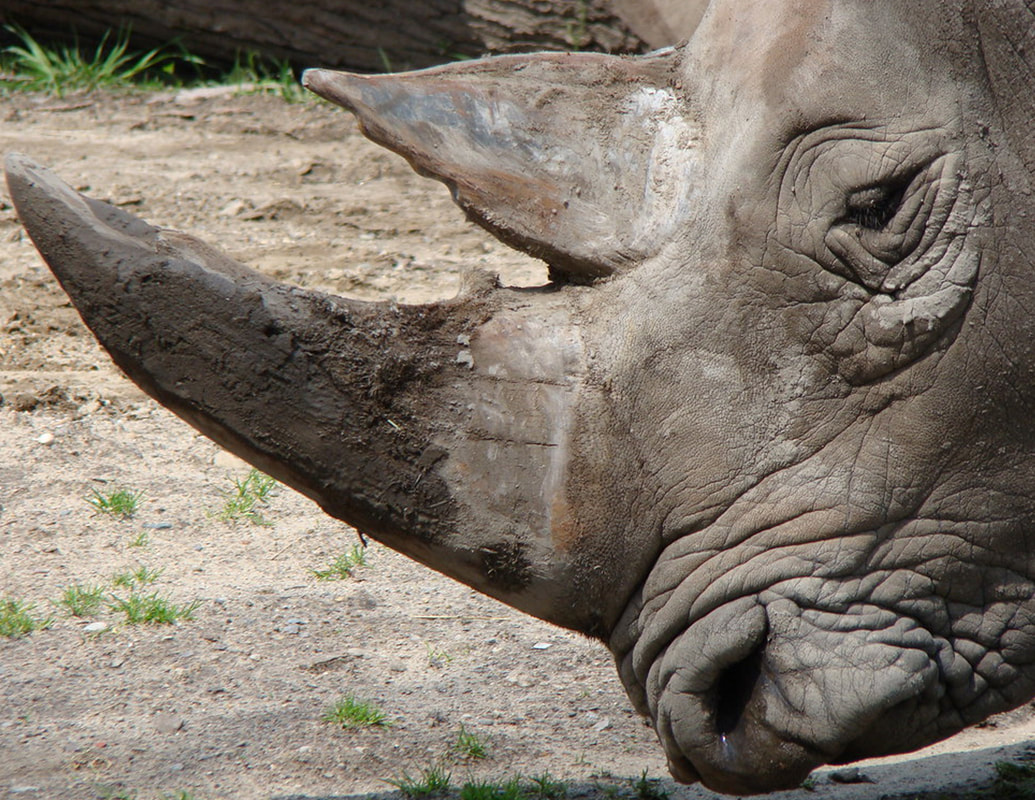
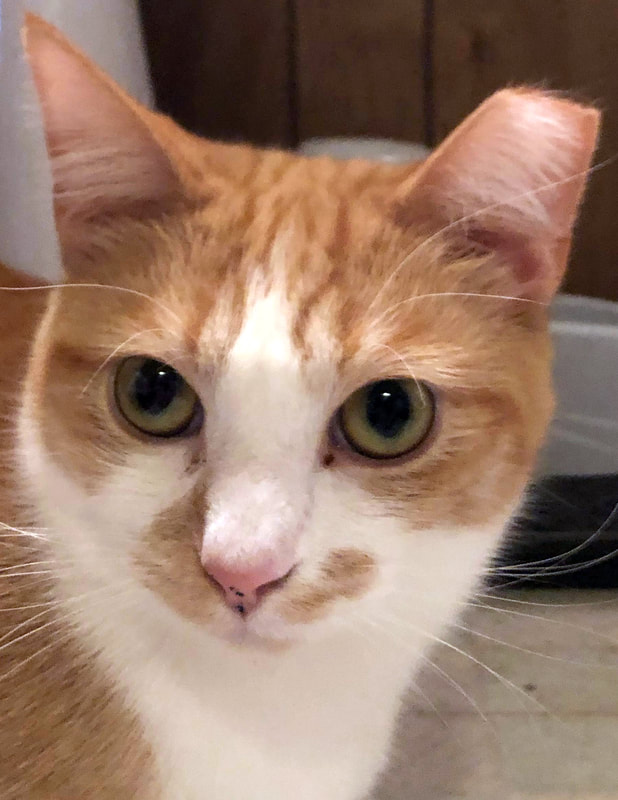
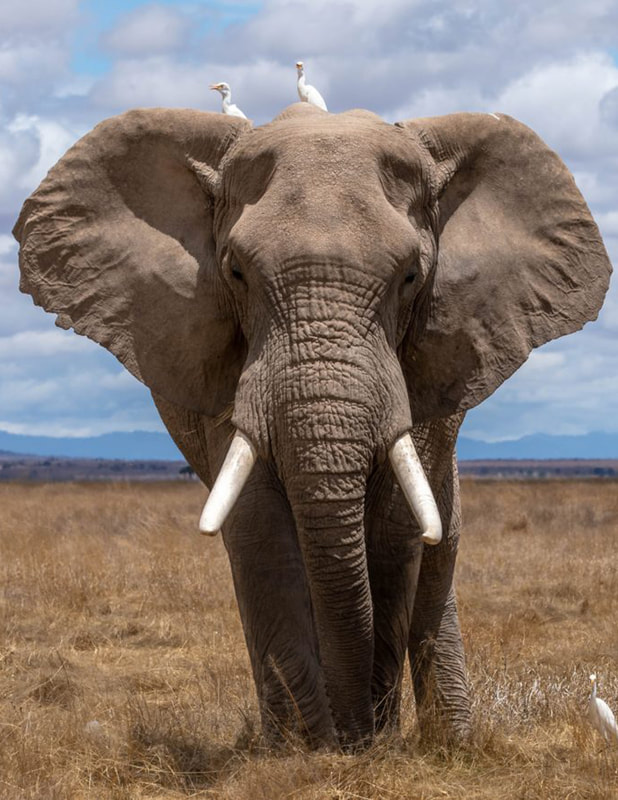
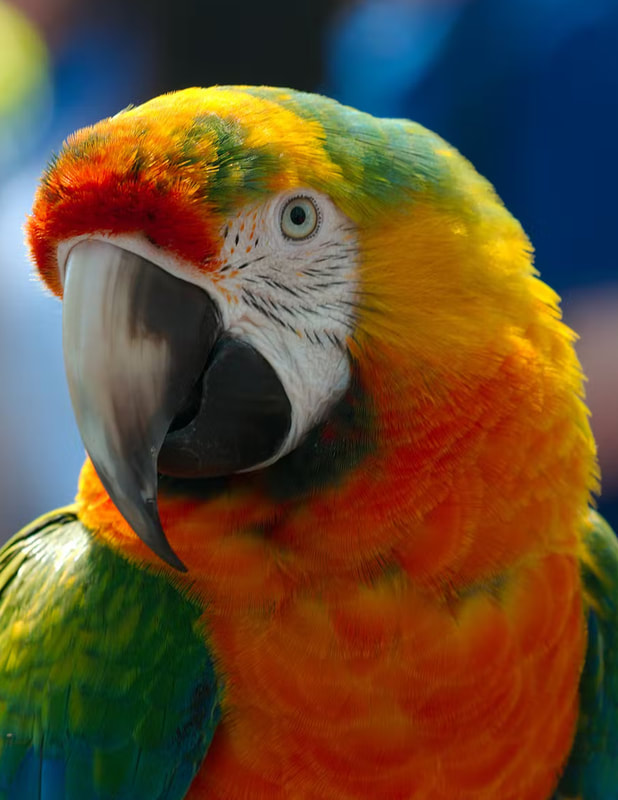
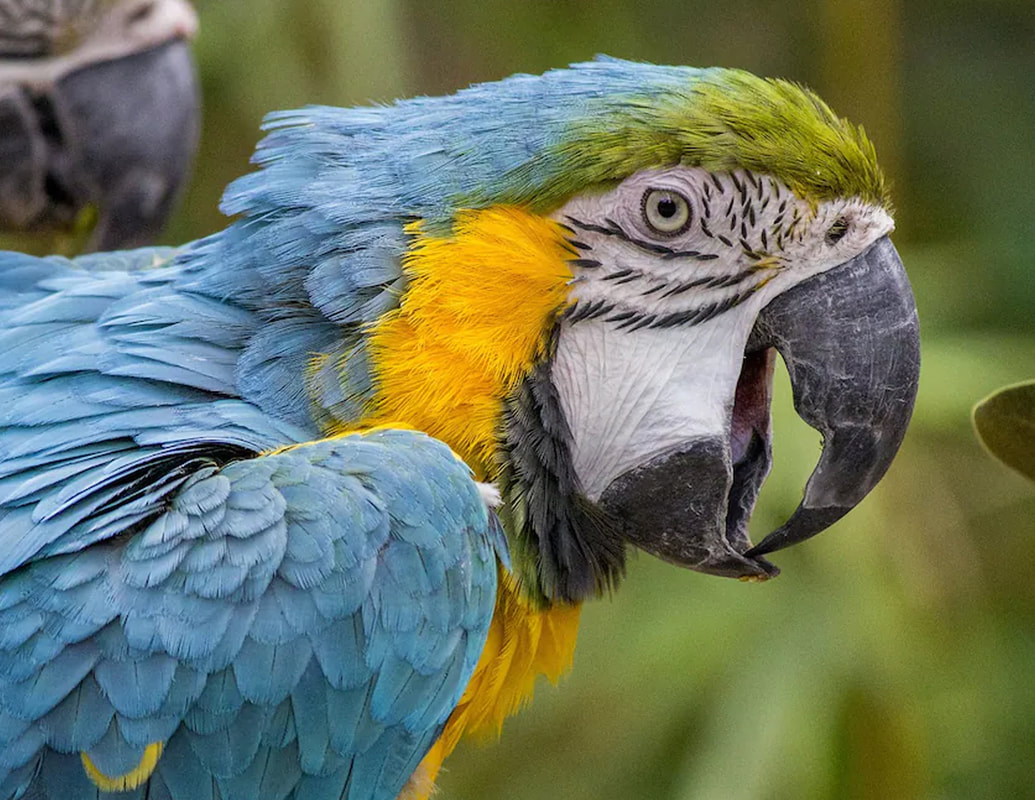
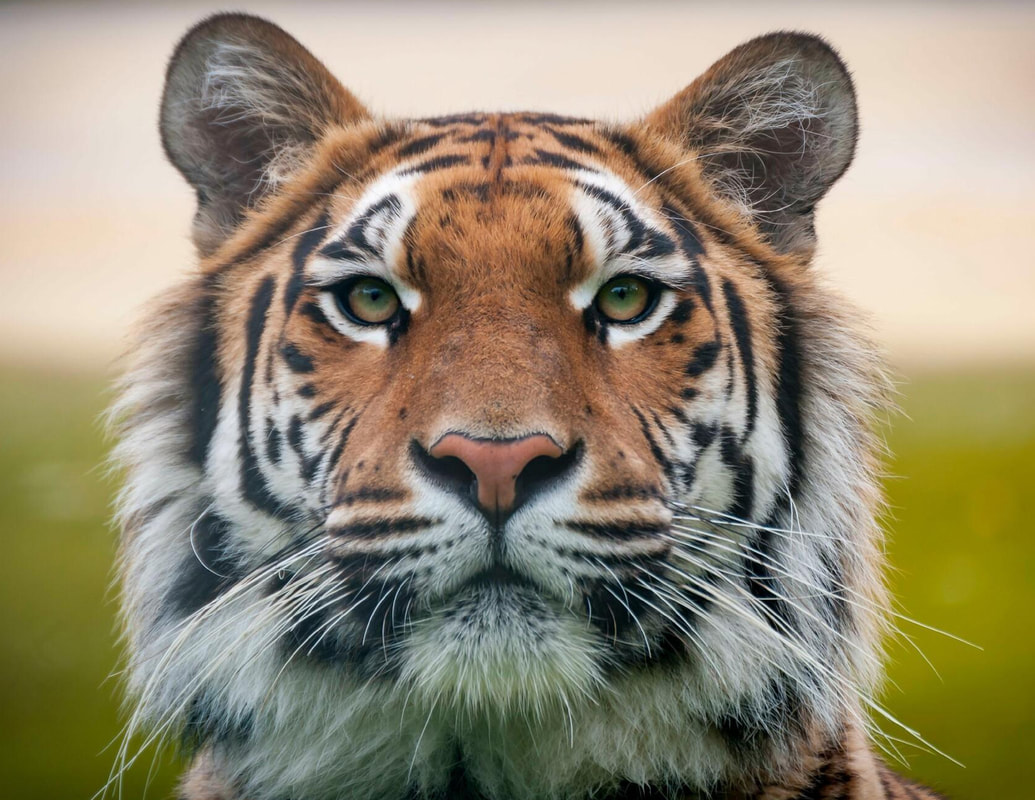
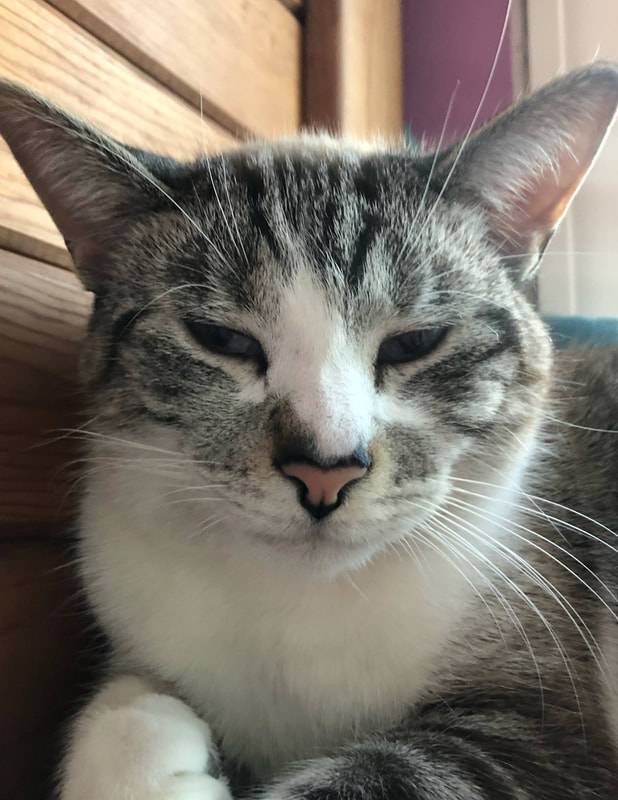
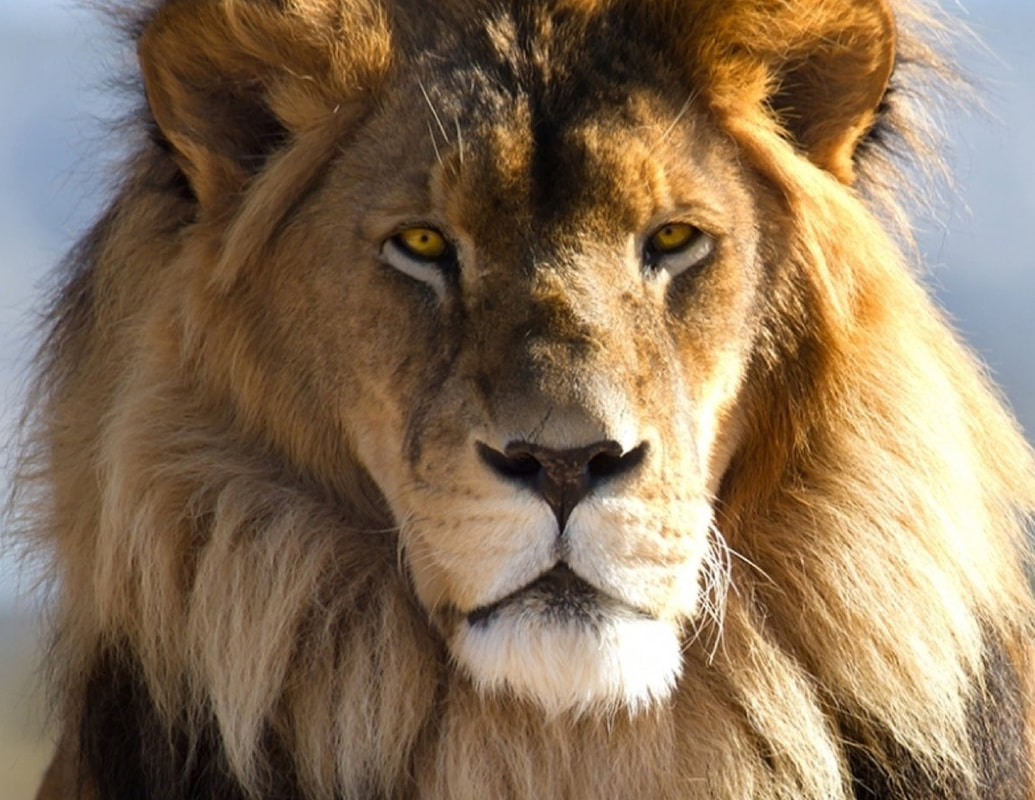
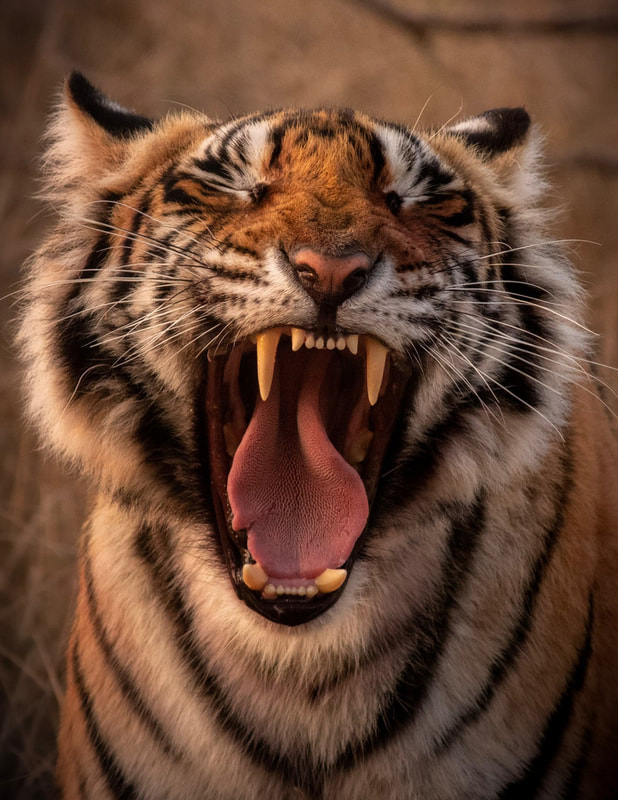
Step 1: Pick an animal from below

Step 2: Use Illustrator to make the Low Poly design
Step 3: Make a fun backgroun

|
Adobe Illustrator tools for this project 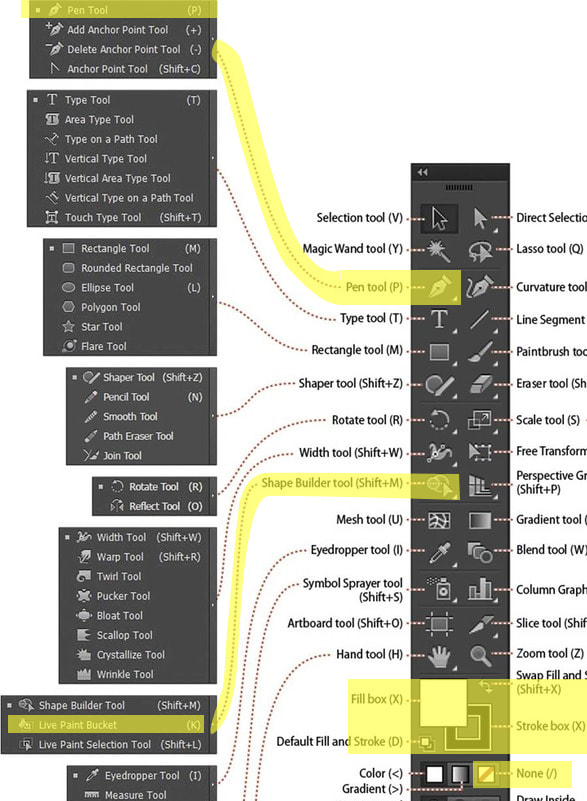
|
Set-Up Steps
1. Open Adobe Illustrator ---> Create New ---> Width 10 inches Height 10 inches ---> Then Create
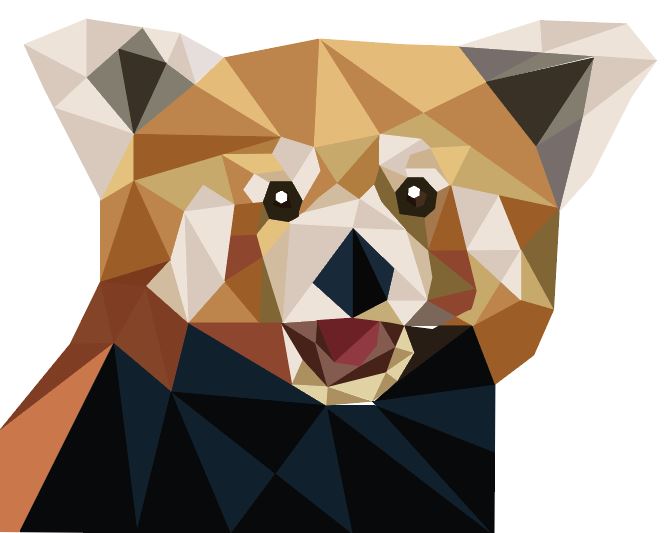
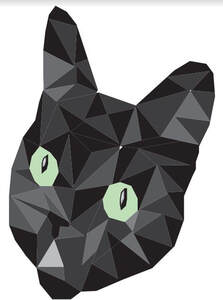
2. Come to iteachyoustuff.com ---> Find an image below ---> Right click with the mouse and "Copy Image"
3. Go back to Illustrator ---> At the top click "Edit" ---> Click "Paste"
4. Using the corners and the selection too, size the picture so it fits on the art space (if you hold shift, it will keep the proportions.
5. Find the "Layers" menu (if it is not there, Click "Window" at the top and then "Layers"
6. Go to top and Click "Windows" ---> Click "Workspace" ---> Click "Essentials Classic" (You should see the settings for the toolbar on the top now.
Making the image Steps
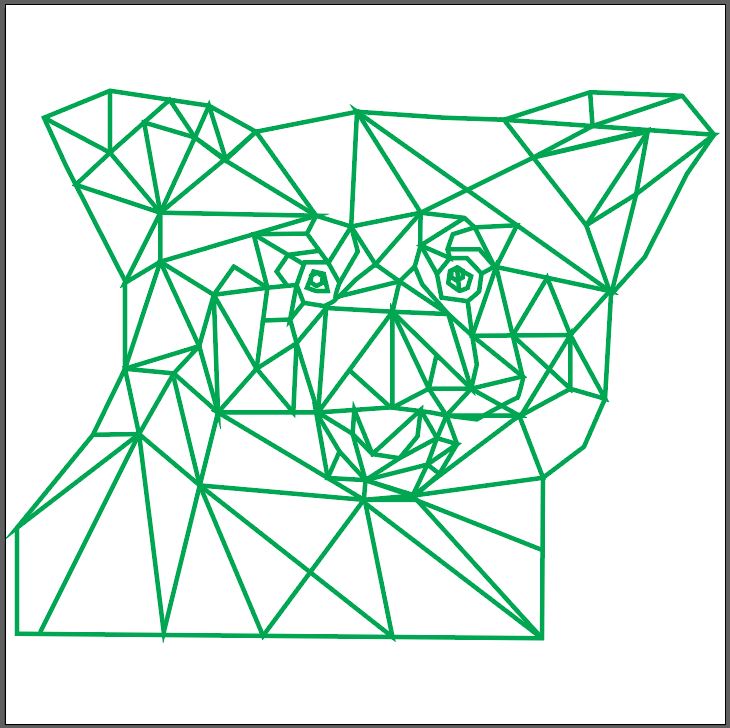
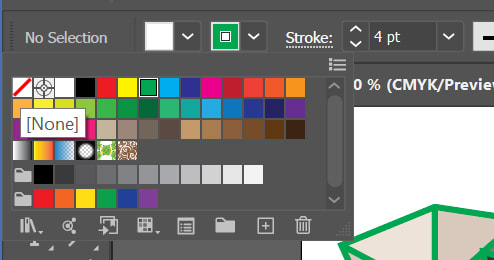
1. The settings for fill should be set to nothing. The Stroke color should be a bright easy to see color. The width should be set to about 4.
2. If you lose the place to adjust the width, Go to the top and select "Window" ---> Select "Stroke"
3. You will be using the "Pen Tool" mostly and then the "Live Fill Bucket"
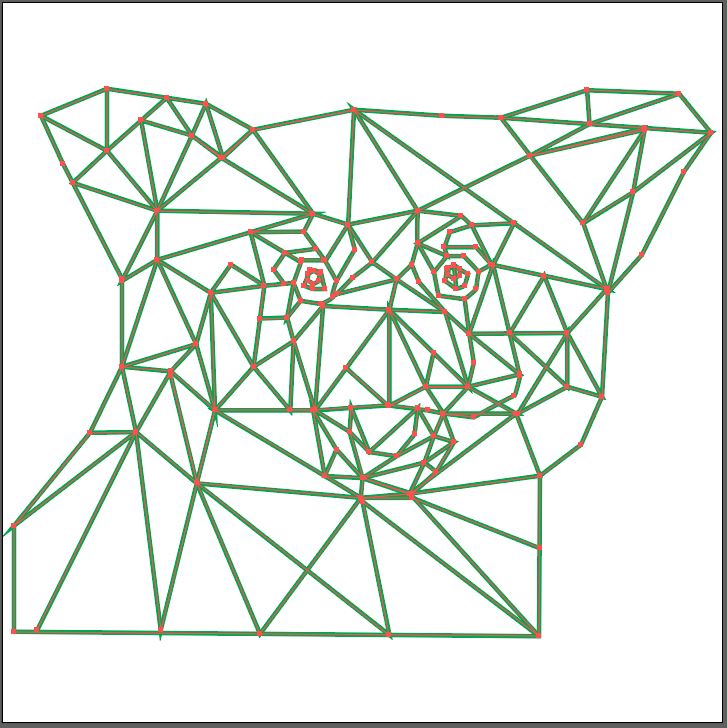
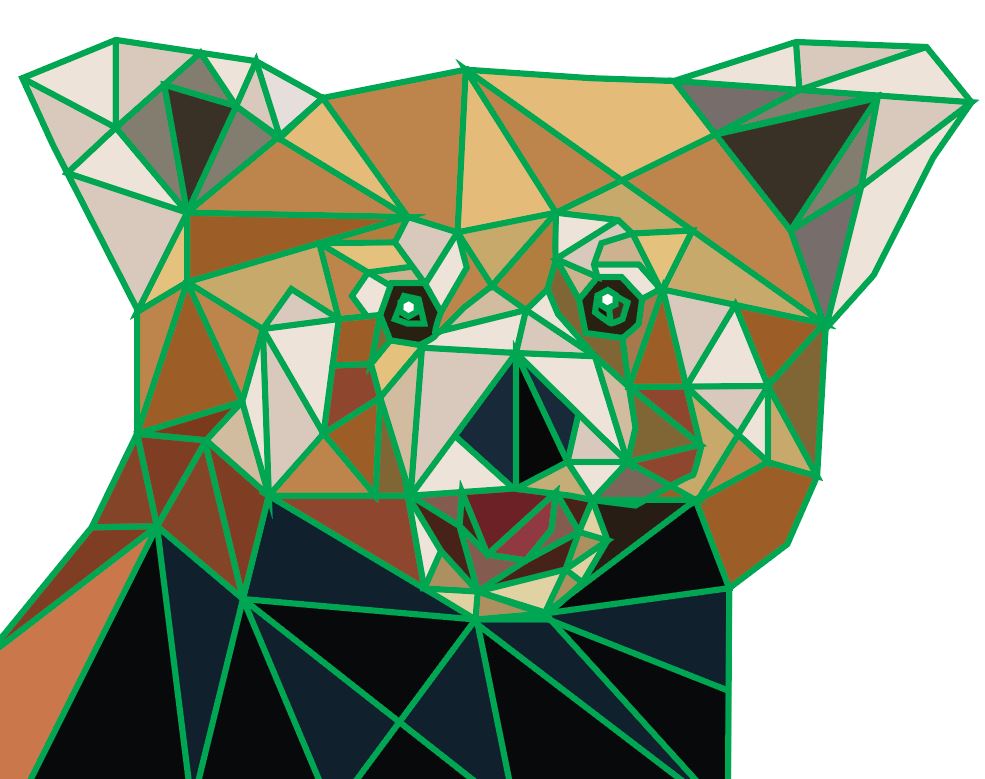
4. You will get to this point...Use one of the top arrow tools to select everything...looks like picture on the right
When using the Pen Tool, sometimes it will act up. Here are some tips
Use the Shift Button or the CTRL Button with the Pen Tool to add points or connect dots. You Might need to use the white arrow to activate a corner. It takes a little practice. Sometimes the Pen Tool will have a "Minus" sign next to it when you hover over a point and this will cause that point to go away.
2. If you lose the place to adjust the width, Go to the top and select "Window" ---> Select "Stroke"
3. You will be using the "Pen Tool" mostly and then the "Live Fill Bucket"
4. You will get to this point...Use one of the top arrow tools to select everything...looks like picture on the right
When using the Pen Tool, sometimes it will act up. Here are some tips
Use the Shift Button or the CTRL Button with the Pen Tool to add points or connect dots. You Might need to use the white arrow to activate a corner. It takes a little practice. Sometimes the Pen Tool will have a "Minus" sign next to it when you hover over a point and this will cause that point to go away.
|
|
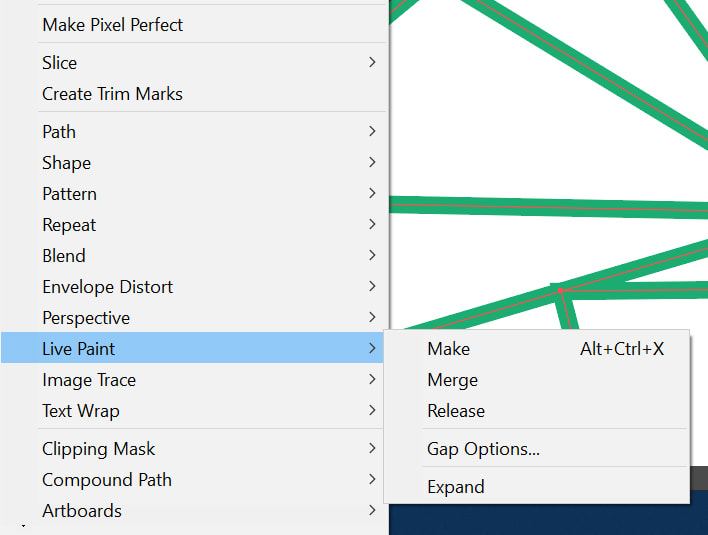
5. Go to top and click "Object" ---> Live Paint ---> and then "Merge". Everything must be selected.
|
|
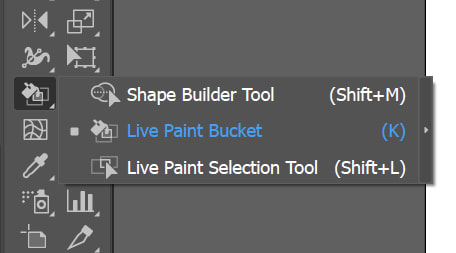
6. Live Painting and the Eye Dropper
You will be rotating between these tools until you are done.
You will be rotating between these tools until you are done.
|
|
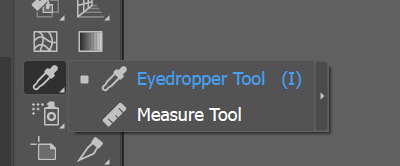
7. Use the Eye Dropper (shortcut is pressing the "E" Button) to select a color. Then switch to the Live Paint (Shortcut is pressing the "K" button) and pour paint.
Make sure the same colors do not share a side with the same color, rotating a variety of colors
You will get to a point where everything is filled in with color. You might need to turn off the background to see all sports.
Make sure the same colors do not share a side with the same color, rotating a variety of colors
You will get to a point where everything is filled in with color. You might need to turn off the background to see all sports.
|
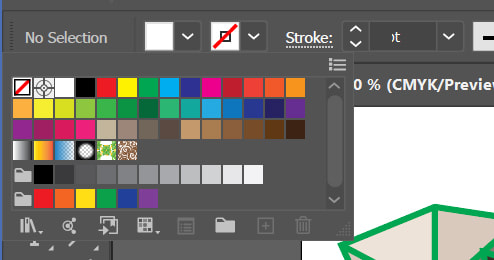
8. You will need to get rid of the border. SELECT EVERYTHING using the top arrow. Then you will need to adjust the border on the top by changing the color to no color (the red slash).
|
|
9. Finish it, Make sure the background image is turned off by poking the eyeball in the Layer Menu. Save it and then save as a PDF for upload. If you want me to print it, let me know in the comments of the assignment.
|
|
|

|

|

|
Youtube tutorials
Might have issues playing on the school network.
|
|
|
|


|


|


|
